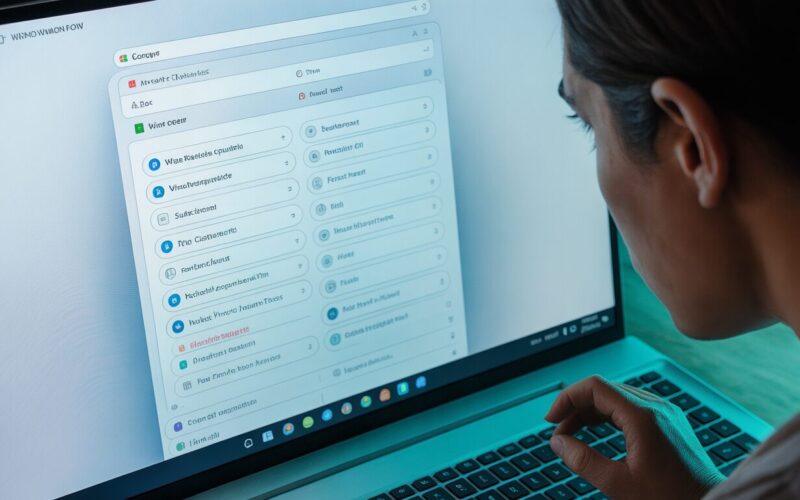
Computer Management consolidates Windows 11’s most powerful administrative tools into one interface: Device Manager, Disk Management, Event Viewer, Task Scheduler, Services, Local Users and Groups, and Performance Monitor all accessible from a single window. For users who regularly need these tools, opening Computer Management once is faster than finding each tool separately through search or Win+X menus. For a broader walkthrough, our Windows 11 How-To Guides is a good next read.
Opening Computer Management
Win+X → “Computer Management.” Or: right-click the Start button → Computer Management. Or: Win+R → compmgmt.msc. The interface opens to a three-panel layout: navigation tree on the left, content in the centre, and actions on the right. The left panel organises all tools into three main sections: System Tools, Storage, and Services and Applications.
System Tools section
The System Tools section contains the tools used most frequently for day-to-day administration:
Task Scheduler: view and manage scheduled tasks — same interface as opening Task Scheduler directly. See what’s running in the background on a schedule, disable tasks you don’t want, and create new automated tasks.
Event Viewer: full access to Windows system and application logs. The same Event Viewer available via Win+S search, integrated into Computer Management for convenience when you’re already using the console for other purposes.
Shared Folders: a view most users don’t know exists. Shows all shared network folders on the PC, active network connections to those shares, and open files. Useful for:
- Seeing which drives and folders are shared with the network (Shares view)
- Seeing which remote computers are currently connected to shared resources (Sessions view)
- Seeing which files are currently open by remote connections (Open Files view)
The hidden administrative shares (C$, D$, IPC$, ADMIN$) appear in the Shares view — these are Windows’ built-in admin shares that allow administrators to access drives remotely. They’re present on every Windows machine and are normal.
Local Users and Groups: manage user accounts and group memberships without navigating through the Settings app. More powerful than Settings → Accounts — can create user accounts, set account restrictions, manage group membership, and unlock accounts. Right-click Users → New User for full account creation control not available in Settings.
Performance: access point for Windows Performance Monitor and Data Collector Sets. Open Performance Monitor from here for real-time and logged performance metrics beyond what Task Manager provides.
Device Manager: the standard Device Manager accessible everywhere else — integrated into Computer Management for workflow convenience.
Storage section
Disk Management: the same partition management tool as opening it directly, embedded in Computer Management. No functional difference — it’s there for convenience when you’re already in the console.
The value of having Disk Management inside Computer Management: you can cross-reference between Disk Management and Event Viewer in the same window when investigating disk problems. A disk error in Event Viewer (System log → filter for disk errors) alongside the Disk Management view of that drive’s status gives more complete context than switching between separate windows.
Services and Applications section
Services: the most frequently-used section for troubleshooting. Lists every Windows service — name, description, status (Running/Stopped), startup type (Automatic/Manual/Disabled), and which account it runs as.
Managing services from here:
- Right-click any service → Start, Stop, Pause, Restart
- Right-click → Properties → change startup type (from Automatic to Manual to prevent automatic start, or to Disabled to prevent any start)
- Properties → Log On tab → shows which user account the service runs as — important for services failing due to permission issues
- Properties → Recovery tab → configure what Windows does when the service fails (restart it, run a program, restart the computer)
The Services list in Computer Management is more informative than the Services section in Task Manager, which only shows the service name and status. Computer Management’s Services view shows the description, startup type, and account, making it easier to identify what each service does and whether it should be running.
Our guide on Windows 11 Event Viewer covers the log investigation workflow accessible within Computer Management, and our guide on Windows 11 Task Scheduler covers the scheduling tools also embedded here. For comprehensive services documentation including which services are safe to disable, Microsoft’s Windows services reference describes the function and dependencies of Windows’ built-in services.
Practical Computer Management workflows
The value of having everything in one place becomes clear for troubleshooting workflows that require multiple tools:
Investigating high CPU usage: Task Manager identifies a service with high CPU → open Computer Management → Services → find that service → right-click → Properties → note the service name and account → Event Viewer → Application log → filter by Source = service name → see error events explaining why it’s consuming resources
Network share investigation: a user reports they can’t access a shared folder → Computer Management → Shared Folders → Shares → confirm the share exists and has correct permissions → Sessions → see if the user’s machine is connecting at all → Open Files → see if a file they need is locked by another session
User account management: a user is locked out → Computer Management → Local Users and Groups → Users → right-click the account → Properties → uncheck “Account is locked out” → reset password if needed → all from one interface without navigating multiple Settings screens
Connecting to a remote computer
Computer Management can manage other computers on the network, not just the local machine. Right-click “Computer Management (Local)” at the top of the tree → “Connect to another computer” → enter the remote PC name or IP address → the console shows the remote machine’s services, event logs, disk management, and shared folders.
This requires: administrator credentials on the remote machine, both machines on the same network, and Remote Registry service running on the target. When this works: you can view event logs, restart services, and manage user accounts on another PC in the network without needing to physically access it or establish a Remote Desktop session.
| Tool | Location in Computer Management | Primary use |
| Task Scheduler | System Tools → Task Scheduler | Manage automated tasks |
| Event Viewer | System Tools → Event Viewer | View system and app logs |
| Shared Folders | System Tools → Shared Folders | Network share management |
| Local Users and Groups | System Tools → Local Users and Groups | Account management |
| Performance Monitor | System Tools → Performance | Resource monitoring |
| Device Manager | System Tools → Device Manager | Hardware and drivers |
| Disk Management | Storage → Disk Management | Partition management |
| Services | Services and Applications → Services | Windows service control |
Computer Management is the single most efficient entry point for administrative work on a Windows 11 PC. Rather than searching for each tool individually, the consolidated interface saves navigation time and enables cross-tool workflows that would require multiple windows otherwise. For anyone who regularly works with more than one or two of these tools: setting Computer Management as a taskbar shortcut and making it the default entry point for administrative tasks is a workflow improvement that pays off quickly.
Services startup type — what the options mean
In Computer Management → Services → Properties for any service, the Startup type dropdown has four options:
- Automatic: starts automatically when Windows boots. For services needed from the moment Windows is available.
- Automatic (Delayed Start): starts a short time after Windows boots, letting the boot process complete before adding load. Better for non-critical services that don’t need to be available immediately — helps boot time without preventing the service from eventually starting.
- Manual: starts only when explicitly started or when another service or component requests it. Running on demand rather than always present.
- Disabled: won’t start at all. The service remains present but can’t be started by any means until changed back to Manual or Automatic.
Changing startup types is useful for: disabling services for third-party software you’ve uninstalled but that left its service behind, changing frequently-needed services from Manual to Automatic so they don’t need to start on demand (which can cause brief delays), and disabling services that conflict with each other (less common but occasionally relevant for security tools).
Local Users and Groups — beyond what Settings provides
Settings → Accounts provides a limited interface for user account management. Computer Management → Local Users and Groups provides the full administrative view. Additional capabilities:
- Set account expiration dates (for temporary accounts)
- Prevent password changes (for accounts that shouldn’t change their own password)
- Set passwords to never expire (for service accounts that can’t be prompted to change)
- Manage built-in groups (Administrators, Users, Guests, Remote Desktop Users, etc.) — adding a user to “Remote Desktop Users” grants them Remote Desktop access without making them an administrator
- View and modify accounts created by software installations that don’t appear in Settings → Accounts
The Groups section is particularly useful for permission management: right-click any group → Properties → Members tab → shows current members and allows adding/removing. Adding a user to the “Remote Desktop Users” group is the standard way to grant Remote Desktop access without administrator privileges. Adding to “Performance Monitor Users” grants the ability to use Performance Monitor without full admin rights.
Computer Management on Windows 11 Home
Most of Computer Management is available on Windows 11 Home. The notable exception: Local Users and Groups. This section is only present on Windows 11 Pro, Enterprise, and Education. On Home edition: Local Users and Groups section is absent from the tree. User account management on Home is limited to the Settings → Accounts interface.
All other sections (Disk Management, Event Viewer, Services, Task Scheduler, Shared Folders, Performance, Device Manager) are available on all editions including Home. The administrative functionality that Computer Management provides for those tools is not edition-restricted.
Using Computer Management for system auditing
Before making major system changes (installing software, changing configuration, before and after Windows updates): a quick Computer Management review establishes a baseline. Services running normally, no critical Event Viewer errors, Disk Management showing healthy status — these three checks take 2 minutes and confirm the system is in a known good state. If something goes wrong after the change: comparing the current state to the pre-change baseline identifies what changed.
This audit habit is what separates systematic Windows administration from reactive firefighting. Computer Management makes the baseline check fast by putting all the relevant information in one place. The alternative — opening separate tools for each check — takes longer and is easier to skip. The consolidated interface is the feature that makes the habit practical.
Computer Management is worth knowing about even if you don’t use it daily. The first time you need to restart a stuck service, investigate an Event Viewer error while also checking disk health, or grant a user account a specific permission: having Computer Management ready as a known reference point saves the time of finding each tool separately in an already-pressured troubleshooting moment. It’s a tool that rewards being found before it’s needed.
Creating a Computer Management shortcut
For users who access Computer Management regularly: a desktop shortcut or taskbar pin is faster than the right-click Start menu. Create a shortcut: right-click the desktop → New → Shortcut → Target: compmgmt.msc → name it “Computer Management” → pin the shortcut to the taskbar by right-clicking the created shortcut → “Pin to taskbar.” Now accessible in one click from anywhere.
Alternatively: Win+R → type compmgmt.msc → Enter is fast enough as a two-step keyboard-only approach. The .msc extension (Management Snap-in Console) covers all the major Windows admin tools: devmgmt.msc (Device Manager), diskmgmt.msc (Disk Management), eventvwr.msc (Event Viewer), services.msc (Services), lusrmgr.msc (Local Users and Groups), taskschd.msc (Task Scheduler). Knowing these short codes lets you jump to any administrative tool directly without navigating through menus.
Computer Management is the administrative hub for Windows 11 — not the flashiest tool, not the most frequently-opened for everyday users, but the most comprehensive single interface for the moments when you need visibility and control over multiple aspects of the system simultaneously. Understanding what’s in it and how to navigate it quickly makes Windows 11 administration considerably more efficient than approaching each administrative need as a separate tool-finding exercise. If this sounds familiar, Windows 11 File Explorer is worth a look.